Required packages 📦
We'll need a window
manager (bspwm) , shortcuts (sxhkd), a graphical thingy to communicate to the
graphics card and tell it what to show (picom and utils), an instance that
shows the screen (X), an application launcher (dmenu, note
that this can do way more but we'll learn about that later),
a background manager (nitrogen),a terminal emulator (xfce4-terminal) and
a web browser (chromium). For the more knowledged out there I will be using
X instead of wayland as I don't really see a reason to switch ngl.
So, first off look at what you'd like to use to display your graphics:
Intel and AMD
If you don't have a graphics card and just run an intel cpu
or amd cpu you should install the mesa package:
$ sudo pacman -S mesa
note that some tutorials will give the advice to
install the xf86-video-intel package, do NOT install this package,
it's outdated.
Nvidia
if you run a
nvidia gpu, install nvidia and nvidia-utils:
$ sudo pacman -S nvidia nvidia-utils
AMD
If you have an AMD graphics card,
then install both mesa and xf86-video-amdgpu:
$ sudo pacman -S mesa xf86-video-amdgpu
It might also be the case that you need adittional drivers,
see
here.
The 🥩 of the 🍚
So, we'll now start laying out the base for the ricing,
first run the following command to install the previously mentionded packages:
$ sudo pacman -S xorg xorg-xinit bspwm sxhkd dmenu nitrogen picom xfce4-terminal chromium
Now we want to create the config files in which we'll
put the bspwm and sxhkd configs, create the folders:
$  mkdir .config/bspwm
$  mkdir .config/sxhkd
And copy the example files over to these local files:
$  cp /usr/share/doc/bspwm/examples/bspwmrc .config/bspwm/
$  cp /usr/share/doc/bspwm/examples/sxhkdrc .config/sxhkd/
Configuration ⚙️
Shortcuts
Now edit the .config/sxhkd/sxhkdrc file and change the
terminal emulator shortcut:
# terminal emulator
super + Return
	xfce4-terminal
I.e upon pressing the super key (windows 🤮 key) combined with
the return key (enter key), the terminal will be opened. And
maybe already add some useful shortcuts, e.g super+u opening
chromium:
super + u
	chromium
Optional shortcuts
And some other useful things (if you have e.g volume control
buttons and such) are:
XF86AudioNext
	playerctl next
XF86AudioPrev
	playerctl previous
XF86AudioStop
	playerctl stop
XF86AudioMute
  amixer set Master toggle
XF86AudioLowerVolume
  pactl set-sink-volume 1 -5%
XF86AudioRaiseVolume
  pactl set-sink-volume 1 +5%
XF86Calculator
  calc.sh
XF86HomePage
  chromium
XF86Battery
  Battery.sh
Where, for e.g the battery.sh file and calc.sh file, you can
have a look at my Scripts
later.
Starting bspwm
As mentioned before, X (xorg) is the program managing the desktop enviroment you start, so we'll tell it to
start all the necessary things. To do this edit we'll first copy
over the example file from /etc:
$ cp /etc/X11/xinit/xinitrc .xinitrc
Then edit this new file, deleting the last 5 lines (twm & and onwards). Then adding in the following lines instead of those:
setxkbmap YOURKEYBOARD -option caps:escape &
picom &
exec bspwm
And change "YOURKEYBOARD" to yours e.g for belgium it's "be".
The "&" mean the process is run in the background, the "-option
caps:escape" thing is optional and remaps caps lock to escape
(easier for vim).
And finally exec bspwm executes (you guessed it) bspwm. Go ahead and start your enviroment by executing:
$ startx
And if everything seems fine, (Note that if you're stuck and can't
do anything or something, you can always press the combination ctr+alt+f2 to go to another tty and killing bspwm from there)
you can go ahead and make bspwm
start on login by adding the following to your .bash_profile
(or .zprofile if you're using zsh):
if [ -z "${DISPLAY}" ] && [ "${XDG_VTNR}" -eq 1 ]; then
  exec startx
fi
Now that the ground work is layed out, let's get to acual ricing:
Ricing 🍙
De-Uglyfication
The first ricing won't really be ricing, it will be just making
bspwm not ugly, for this we'll need to add the following two lines
to bspwmrc (in .config/bspwm/):
nitrogen --restore &
xsetroot -cursor_name left_ptr &
The first makes it so a background is permanent, the second
makes your mouse pointer a pointer instead of a cross.
Basics
The first basic rice that we'll do is add a bar at the top of
the screen and make it possible to get notifications, for this
install the following two packages:
$ sudo pacman -S polybar xfce4-notifyd
Copy the example polybar layout to the .config folder:
$ cp /etc/polybar/config.ini to .config/polybar/config
and add the following lines to bspwmrc:
polybar &
/usr/lib/xfce4/notifyd/xfce4-notifyd &
To make it start upon starting bspwm
(press super+alt+r to reset bspwm).
You're left on your own to further improve this bar
. Ricing is your own art, so don't just copy over a full
config, try to implement snippits and make your own.
Blurry Terminal Emulator 👻
To now have a good
looking and readable terminal emulator we want
more than just a transparent background: we want a blurry
one, go ahead and copy the config file of picom to
our local config folder:
cp /etc/xdg/picom.conf .config/picom.conf
And change the local picom.conf, first off go to
"Background-Blurring", and change the lines under there to
the following:
# Parameters for background blurring, see the *BLUR* section for more information.
blur-method = "dual_kawase"
# blur-size = 12
#
# blur-deviation = false
#
blur-strength = 4
# Blur background of semi-transparent / ARGB windows.
# Bad in performance, with driver-dependent behavior.
# The name of the switch may change without prior notifications.
#
blur-background = true
Then also uncomment and change "blur-kern" to:
blur-kern = "3x3box";
And in "General Settings" change the backend to glx and vsync to
true:
# `xrender` is the default one.
#
backend = "glx"
# backend = "xrender";

# Enable/disable VSync.
# vsync = false
vsync = true;
Then finally go ahead and open the terminal emulator's
settings by right-clicking on it and going to preferences,
change Scrollbar is: to Disabled, go to appearance and
choose in Background "Transparent background". Therein also
uncheck the boxes under "Opening New Windows". Reset bspwm by
doing the key combination super+alt+r open a terminal and
you see that you now have your first
rice!
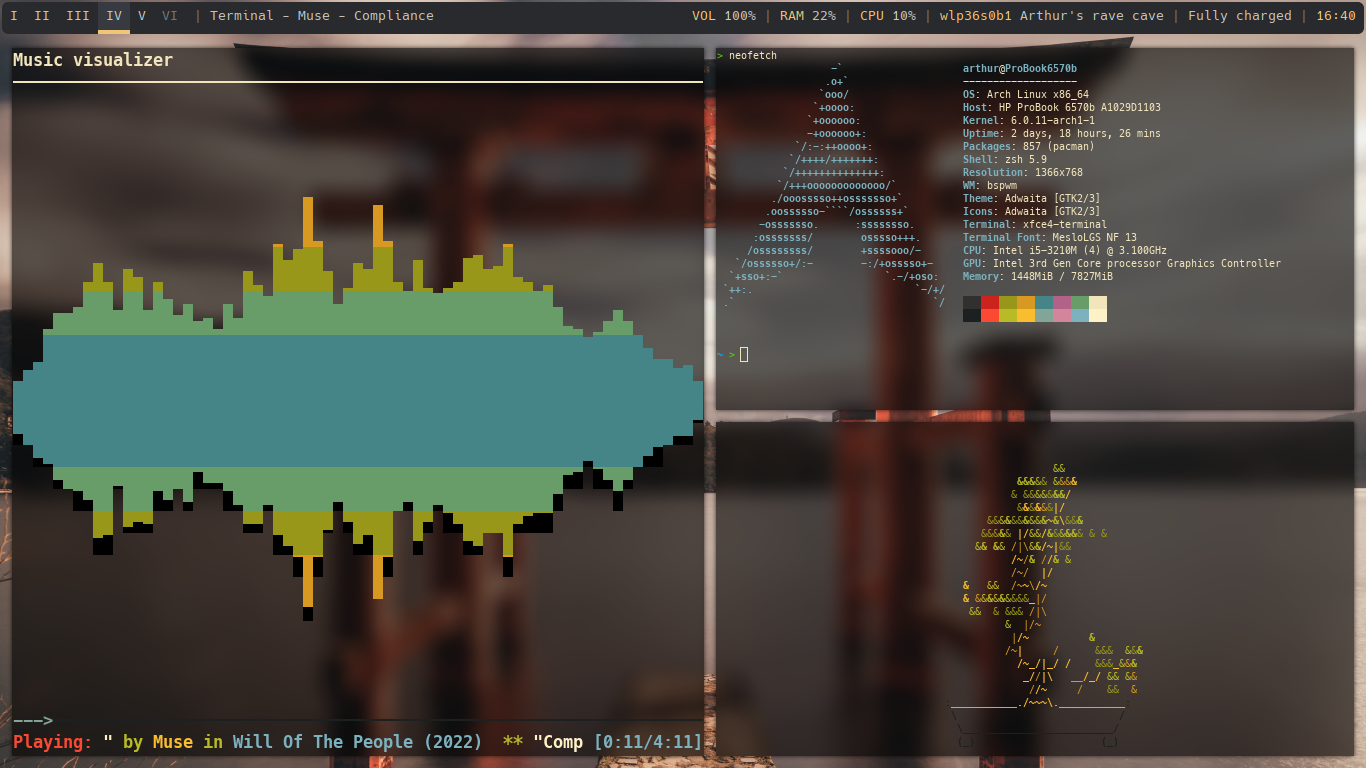
🥔 pc specifications
Note that on my Probook6570b, which is quite low-spec (for you nerds out
there: CPU: Intel i5-3210M (4) @ 3.100GHz and 4Gb's of ram) on idle
0.7% of the cpu is used and 440mB of ram and everything works fast af
(note that I don't have any clue how much a DE or other
operating systems like windows or something use as it's been
quite a long time since I've had anything other than this
config installed but I remember it being waaaaay more).
Even though everything works fine on my not so fast computer,
maybe yours is way slower and some optimization tips are needed.
As I have a thinkpad R500 at home, I've tried most of these:
First off do NOT add the blur to picom (this
can be a quite heavy process), use zsh with no flair (no powerlevel10k or
something), or if it's almost dead-slow, use bash.
Use dillo as main browser (you'll get used to it) and chromium only
when absolutely necessary and you might prefer dunst over xfce4-notify.
Lastly if your pc is pre-historic, try using st (suckless terminal) from the
suckless website as your terminal emulator instead of xfce4-terminal.